Quick Start
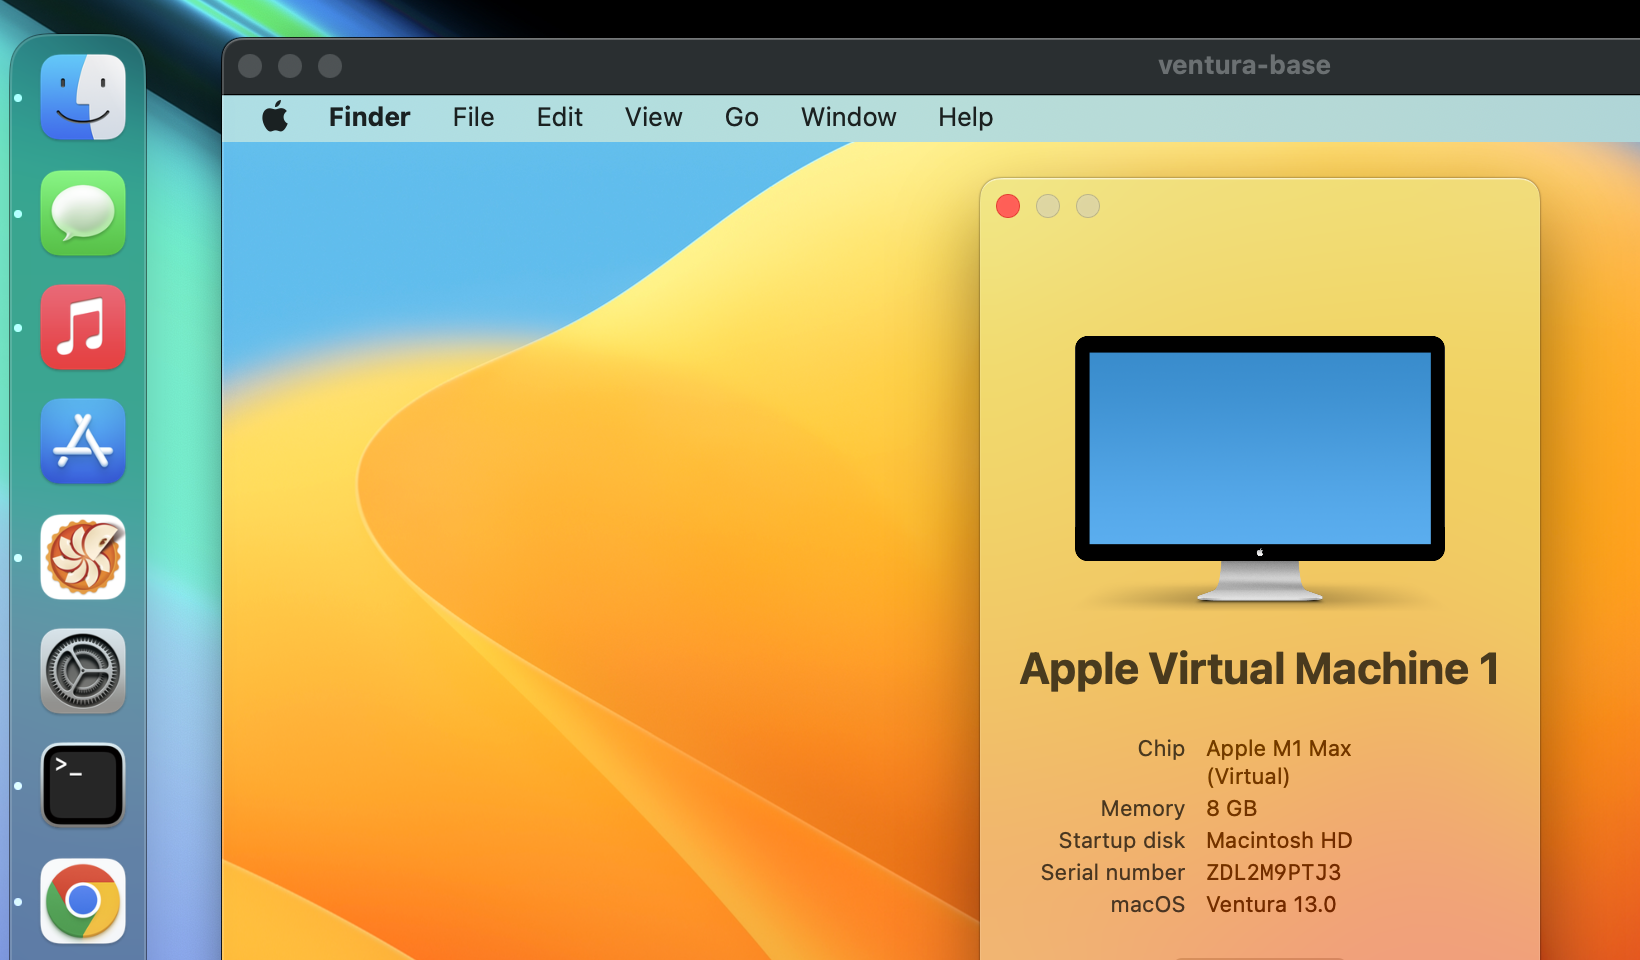
Try running a Tart VM on your Apple Silicon device running macOS 13.0 (Ventura) or later (will download a 25 GB image):
brew install cirruslabs/cli/tart
tart clone ghcr.io/cirruslabs/macos-sequoia-base:latest sequoia-base
tart run sequoia-base
Manual installation from a release archive
It's also possible to manually install tart binary from the latest released archive:
curl -LO https://github.com/cirruslabs/tart/releases/latest/download/tart.tar.gz
tar -xzvf tart.tar.gz
./tart.app/Contents/MacOS/tart clone ghcr.io/cirruslabs/macos-sequoia-base:latest sequoia-base
./tart.app/Contents/MacOS/tart run sequoia-base
Please note that ./tart.app/Contents/MacOS/tart binary is required to be used in order to trick macOS
to pick tart.app/Contents/embedded.provisionprofile for elevated privileges that Tart needs.

VM images
The following macOS images are currently available:
- macOS 15 (Sequoia)
ghcr.io/cirruslabs/macos-sequoia-vanilla:latestghcr.io/cirruslabs/macos-sequoia-base:latestghcr.io/cirruslabs/macos-sequoia-xcode:latest
- macOS 14 (Sonoma)
ghcr.io/cirruslabs/macos-sonoma-vanilla:latestghcr.io/cirruslabs/macos-sonoma-base:latestghcr.io/cirruslabs/macos-sonoma-xcode:latest
- macOS 13 (Ventura)
ghcr.io/cirruslabs/macos-ventura-vanilla:latestghcr.io/cirruslabs/macos-ventura-base:latestghcr.io/cirruslabs/macos-ventura-xcode:latest
- macOS 12 (Monterey)
ghcr.io/cirruslabs/macos-monterey-vanilla:latestghcr.io/cirruslabs/macos-monterey-base:latestghcr.io/cirruslabs/macos-monterey-xcode:latest
There's also a full list of images in which you can discovery specific tags (e.g. ghcr.io/cirruslabs/macos-monterey-xcode:15) and macOS-specific Packer templates that were used to generate these images.
For, Linux the options are as follows:
- Ubuntu
ghcr.io/cirruslabs/ubuntu:latest
- Debian
ghcr.io/cirruslabs/debian:latest
- Fedora
ghcr.io/cirruslabs/fedora:latest
Note that these Linux images have a minimal disk size of 20 GB, and you might want to resize them right after cloning:
These Linux images can be ran natively on Vetu, our virtualization solution for Linux, assuming that Vetu itself is running on an arm64 machine.
Similarly to macOS, there's also a full list of images in which you can discovery specific tags (e.g. ghcr.io/cirruslabs/ubuntu:22.04) and Linux-specific Packer templates that were used to generate these images.
All images above use the following credentials:
- Username:
admin - Password:
admin
These credentials work both for logging in via GUI, console (Linux) and SSH.
SSH access
If the guest VM is running and configured to accept incoming SSH connections you can conveniently connect to it like so:
Running scripts inside Tart virtual machines
We recommend using Cirrus CLI to run scripts and/or retrieve artifacts
from within Tart virtual machines. Alternatively, you can use plain ssh connection and tart ip command:
Mounting directories
To mount a directory, run the VM with the --dir argument:
Here, the project specifies a mount name, whereas the ~/src/project is a path to the host's directory to expose to the VM.
It is also possible to mount directories in read-only mode by adding a third parameter, ro:
To mount multiple directories, repeat the --dir argument for each directory:
Note that the first parameter in each --dir argument must be unique, otherwise only the last --dir argument using that name will be used.
Note: to use the directory mounting feature, the host needs to run macOS 13.0 (Ventura) or newer.
Accessing mounted directories in macOS guests
All shared directories are automatically mounted to /Volumes/My Shared Files directory.
The directory we've mounted above will be accessible from the /Volumes/My Shared Files/project path inside a guest VM.
Note: to use the directory mounting feature, the guest VM needs to run macOS 13.0 (Ventura) or newer.
Changing mount location
It is possible to remount the directories after a virtual machine is started by running the following commands:
sudo umount "/Volumes/My Shared Files"
mkdir ~/workspace
mount_virtiofs com.apple.virtio-fs.automount ~/workspace
After running the above commands the direcory will be available at ~/workspace/project
Accessing mounted directories in Linux guests
To be able to access the shared directories from the Linux guest, you need to manually mount the virtual filesystem first:
The directory we've mounted above will be accessible from the /mnt/shared/project path inside a guest VM.